


FREE 2 in 1 Backyard Shed Plan
Take care of all your outdoor storage needs with this two-for-one backyard building.
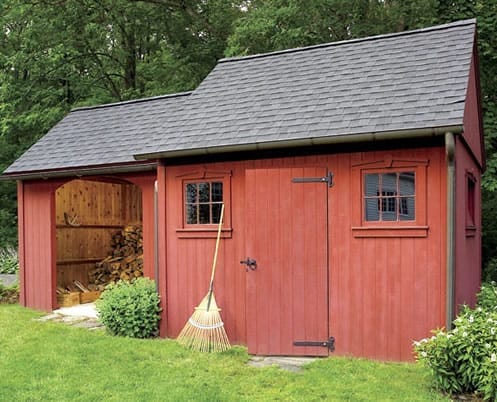
Here's a handsome Colonial-style storage shed that's one of the most versatile, well-designed backyard buildings we've seen. I call this the BIG RED SHED.
In fact, it's really two sheds in one: a 10 x 12-ft. toolshed for general storage and an 8 x 10-ft. open-bay extension that's ideal for keeping firewood stacked and dry.
The extension is also great for storing large items that might not easily fit into the main shed, such as lawnmowers, bicycles, patio furniture, wheelbarrows and stepladders.
Download Your Free Plan Below:
Downloads

Right click and select "save link" or "save target as" to save the PDF on your computer
Note: The complete materials list for this project is only available for members in the members area.
We built our combination shed on a 4-in.-thick concrete slab, which makes an extremely durable and weatherproof floor.
You could also construct a wood-frame floor using pressure-treated 2 x 6 lumber and a plywood deck, and support the assembly on solid concrete blocks or pressure-treated 6 x 6 skids.
If you go with the slab, it's a good idea to hire an excavator and mason to have the job done right. Place anchor bolts in the concrete for securing the walls, taking care to avoid vertical frame locations and wall openings.
We sheathed the structure with 1 x 6 tongue-and-groove cedar siding, which is naturally resistant to rot and insects. The roofs are covered with slate-gray, architectural-style asphalt shingles.
Perforated-aluminum soffit vents installed along the eaves and continuous ridge vents at the peaks help exhaust hot air that can build up under the roofs during warm summer weather.
The main shed has three tilt-in barn-sash windows and a door that's made from the same tongue-and-groove 1 x 6 cedar used for the siding. You're not likely to find barn-sash windows at a home center, but they can be special-ordered at most lumberyards and farm-supply outlets.
START AT THE TOP
Before building the walls, make use of the open floor space as a platform for building the roof trusses. Each truss consists of two 2 x 4 rafters and a 2 x 4 chord that also acts as a ceiling joist.
At the corners are plywood gussets secured with construction adhesive and roofing nails.
Note that the gable trusses have collar ties (short horizontal members) so there's extra wood to which you can nail the siding. When you build the gable trusses, add flat 2 x 4 pieces, or shoes, to their bottom chords so the gables can be set slightly proud of the walls below them.
Both roofs have a 10-in. pitch--the slope rises 10 in. for each horizontal foot. This creates 50-degree angles at the rafter and chord ends. To cut these with a circular saw, use a template of the angle to mark each piece.
If you're using a power miterbox, the angle graduations are complementary - you'll get a 90-degree cut when the tool is set at 0 degrees. So, set the tool at 40 degrees to end up with a 50-degree angle.
FRAME THE WALLS
Unlike a typical wall with vertical studs, the walls in this structure have long horizontal 2 x 4s that provide nailing support for the vertical siding.
In place of the vertical studs are short 2 x 4s called blocking.
Start by building the front and rear walls of the main shed.
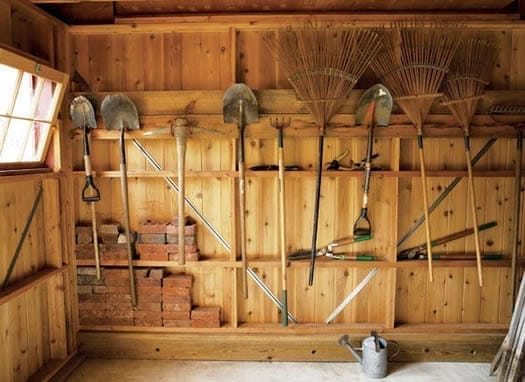
If you're building on a slab, use pressure-treated lumber for the bottom plates. Frame the front wall to accommodate the door and windows. The rear wall has no openings, leaving plenty of wall space for hanging tools and installing shelves.
With the wall frames flat on the floor, check that they're square by measuring the diagonals. We added diagonal metal wall bracing to the main shed's walls to increase frame stiffness.
Attach the tongue-and-groove cedar siding to the horizontal 2 x 4s with 2-1/2-in. ring-shank siding nails. If you're on a slab, bore holes in the bottom wall plates corresponding to each anchor bolt.
Tilt up the walls, set them over the bolts, and secure the walls with washers and nuts. Plumb the walls and temporarily brace them with 2 x 4s fastened to stakes driven into the ground.
Frame the two gable-end walls, raise them between the front and rear walls, and nail the corners together. Then, add the cedar siding. Build the extension in the same way, but use a full-length double 2 x 6 header to span the wide opening.
TRUSSES & TRIM
Nail the gable trusses to the main shed first. Place the remaining trusses over the vertical blocking, secure them with screws, and install the plywood deck and shingles.
At the extension, set a gable truss in place against the main shed wall and trace the rafter line on the siding.
Cut a 2-in.-wide slot along this line. With the trusses and decking in place, shingle the roof while adding step flashing installed through the 2-in. slot and under the siding.
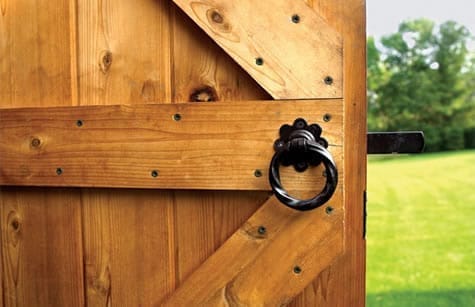
Complete the job by building the door out of cedar, and nailing on the window trim and corner boards.
Traditional hardware, barn-sash windows and solid cedar give this shed the look of timeworn elegance.
Brought To You By:
WalterShedPlans
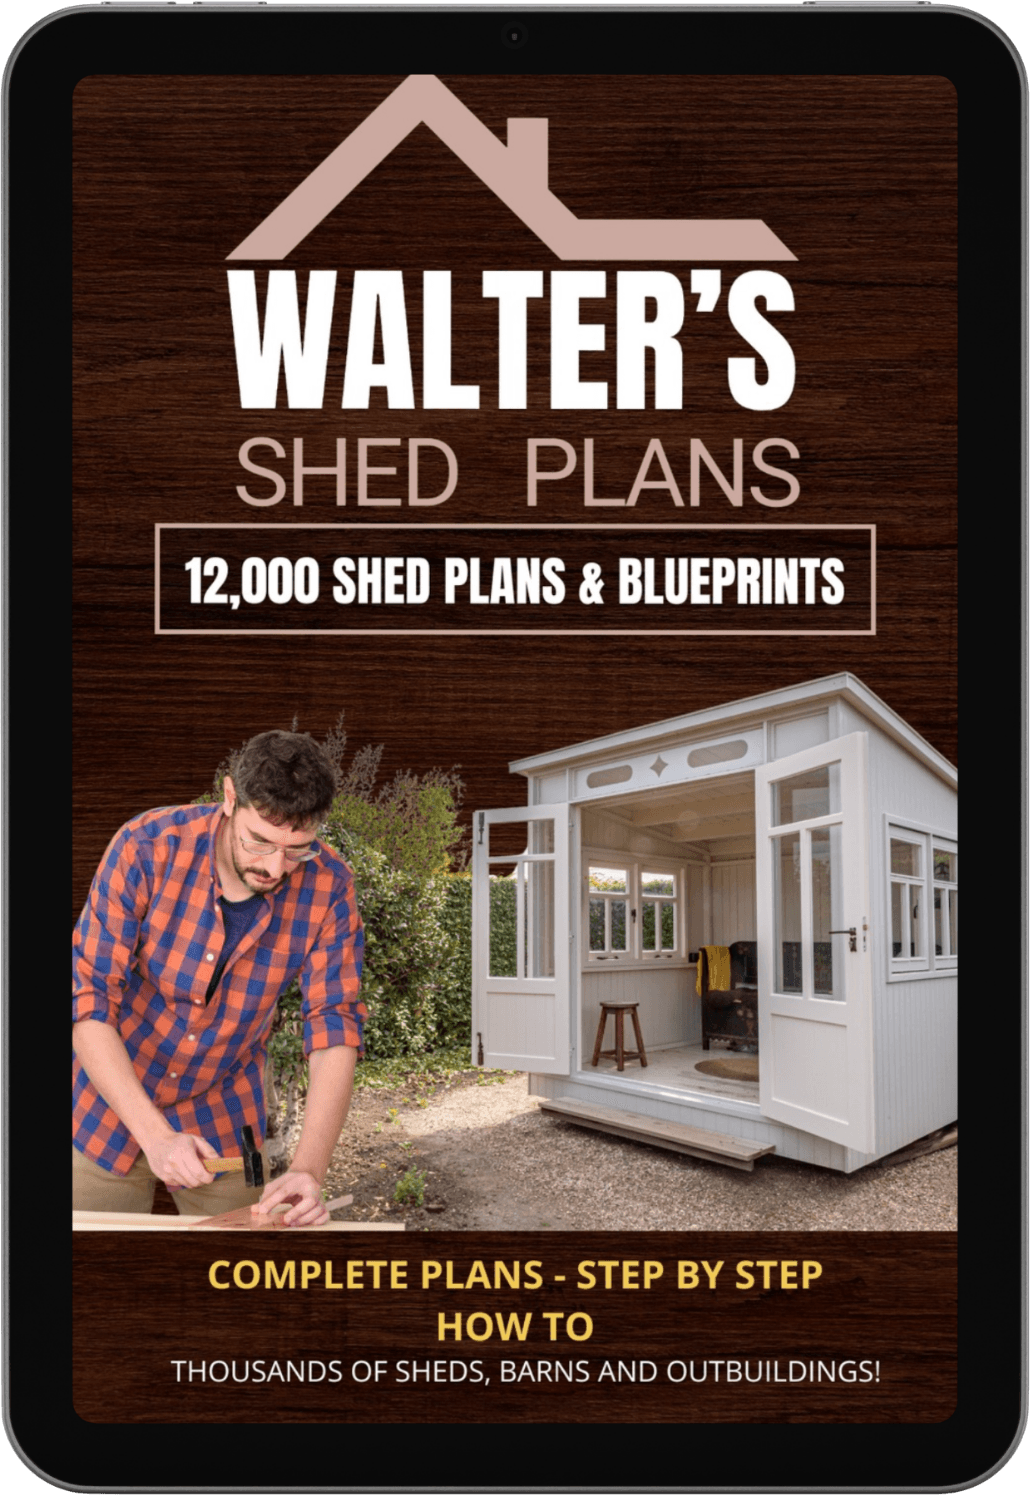
The 12,000 Shed Plans Package
Build Sheds Faster & Easier

Build Your Next Shed Today With
A Selection Of 12,000 Shed Plans!
Here's What You Get When You Order Now:


12,000 Shed Plans and Designs
You get instant access to over 12,000 shed plans and designs covering all styles and sizes in an online members area. Covers large outbuildings to compact storage sheds and everything in between!
Highly Detailed Instructions, Drawings & Cutting Lists
Get LEGO style assembly instructions, full drawings, 3D CAD images, cutting lists, list of materials, views from all angles and all details for each plan.
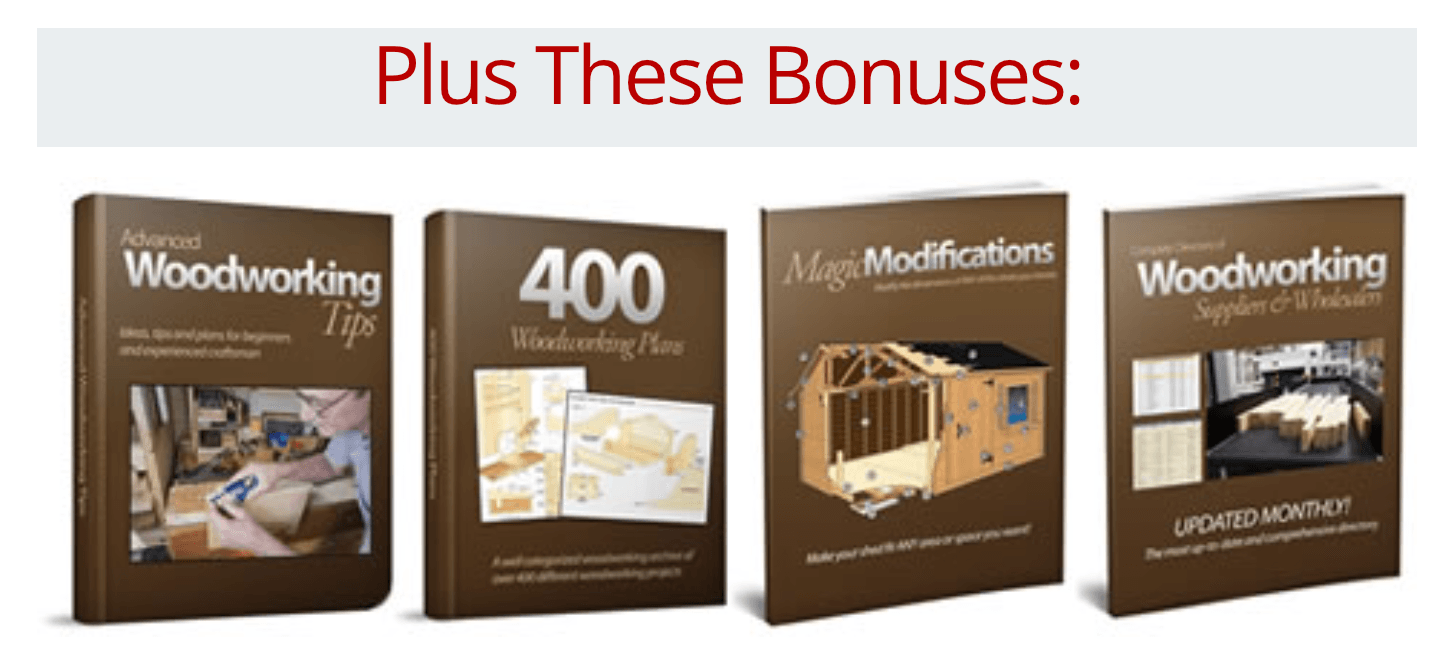
Free Limited-Time Bonuses
Get $340 worth of time-limited bonuses if you order today. Bonuses include: “Advanced Woodworking Tips” book, “Magic Modifications”, directory of suppliers and 400 woodworking plans.
Special Introductory Price + Money Back Guarantee
You get a special introductory price if you order today backed by an ironclad 100% money-back guarantee.

New! A.I. Shed Builder Assistant
Introducing the AI-Shed Builder Expert—Your Personal Shed-Building Coach Available 24/7!
One time payment. No hidden charges.(I reserve the right to end this introductory price at anytime without warning)
www.waltershedplans.com
This site is not a part of the Facebook website or Facebook Inc.
Additionally, this site is NOT endorsed by Facebook in any way.
FACEBOOK is a trademark of FACEBOOK, Inc.
This site is not a part of Meta Platforms, Inc. or any of its products or services. Additionally, this site is NOT endorsed by Meta in any way. FACEBOOK and INSTAGRAM are trademarks of Meta Platforms, Inc.
This site is not a part of the Google website or Google LLC. Additionally, this site is NOT endorsed by Google in any way. 'Google' is a trademark of Google LLC.
© 2025–2026 ProfitAds, LLC d/b/a WalterShedPlans. All Rights Reserved.
PLEASE READ THIS DISCLAIMER:
These plans are published here for educational purposes. Some of the older plans here will often need modifications for modern materials, and may need modifications to update them to modern safety standards. They provide conceptual information. Periodic changes in the National Design Specifications for Wood Construction, changes in building materials, snow load variations and the serious impact of deviations from the plan make it imperative that professional services be utilized to tailor these plans to your situation. The creator of this makes no warranty for these plans. You are solely responsible for how you use them. To summarize, we don't encourage anyone to build some of the major projects shown here "as-is" unless you are experienced enough in construction to make allowances to modernize some of the older plans. If you are interested in creating projects from these plans and don't have the requisite knowledge to bring them to modern safety standards, we insist you consult a professional.
Material quantities listed are indicative and intended for preliminary budgeting only. They should not be considered final totals. Minor variations or omissions may exist. Always verify with your local supplier or a trusted building professional before ordering materials.
Do not purchase materials or attempt to build this shed project unless you have studied the information provided thoroughly, and have verified all dimensions and material requirements for yourself. Also verify that the plans conform to local building codes and practices. Although every effort has been made to ensure the accuracy of the information and design, the user is ultimately responsible for the use of this information. You, the plan buyer and builder, assume all risks and responsibilities associated with building this shed/barn.